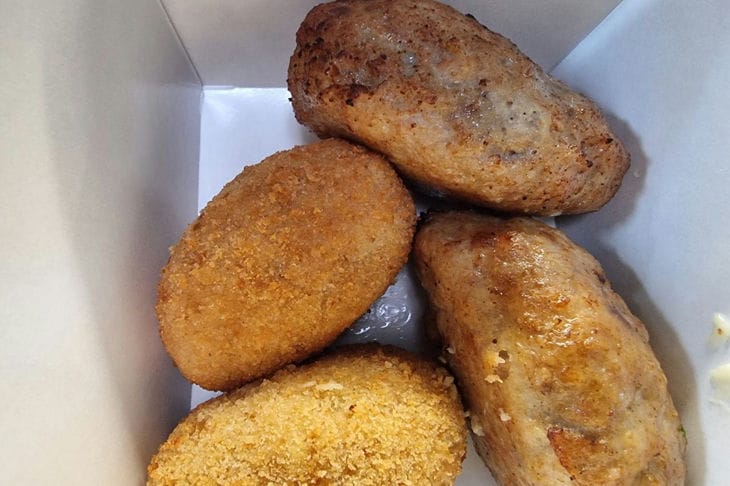
Chicken Kiev is a delicious treat that attracts with its subtle aroma, golden crust and filling that melts in your mouth.
Every person will appreciate this addition to a side dish.
But not every housewife knows how to cook Kiev cutlets perfectly. Let's look at some secrets that will help pleasantly surprise your loved ones.
Correct cutting of fillet
The meat must be cut from the thicker edge with a perfectly sharpened knife. Unfold the meat like a book, making a cut.
Cut off a small fillet from each piece, but do not put it away too far, because you will need it.

Beat the fillet
Lightly beat the prepared fillet. You should get a neat and rounded flat cake.
This will make it much easier to form the cutlets, and the dish itself will be really tender. To prevent the fillet from breaking, wrap it in cling film and only then beat it.
Butter filling
The inner filling of Kiev cutlets is also called "green butter". This is due to the fact that finely chopped dill is added to it.
This culinary masterpiece turns out very aromatic. You can dip pieces of butter in dill or add chopped greens to a soft product.
Place the filling in the freezer to set. By the way, the "green butter" goes well with other dishes, so you can make it in advance.
We wrap the cutlet
The oil should not leak out of the cutlet, so it is necessary to form it correctly. Frozen "green oil" is placed in the center of each fillet.
Now take that small fillet that you left at the very beginning. Cover the butter with it and wrap it up as if you were making cabbage rolls.
There should be no gaps. Wrap the blanks in cling film and leave them in the freezer for ten minutes so that they retain their original shape.
Attention to breading
Breading protects the filling from leaking out and allows you to get a very appetizing crust. To get it, take flour, eggs and breadcrumbs.
Sift the flour, because there should be no lumps in it. At the very beginning, dip the workpiece in flour, then roll it in eggs and breadcrumbs.
Deep frying
Sunflower, refined or olive oil will do. The choice of product affects the taste of the finished cutlets.
Also, many housewives use pork fat, so focus on your individual needs.
Proper frying
Heat the oil until it starts to boil. When you see small bubbles, you can put the cutlets in.
They are fried for three minutes on each side to create an appetizing crust. After that, put the Kiev cutlets in the oven for ten minutes (200 degrees).
It is worth paying attention to these secrets of cooking chicken Kiev. You will be able to get the perfect culinary masterpiece, which will be a pleasant surprise for your loved ones!


